Method 1.
You can create a Cron job for Revive Old Post using Cronjob.org:
Step 1.
Turn off the default WP Cron by editing the wp-config.php file (located in the root of the folder where WordPress is installed).
Open the wp-config.php file, add a new line after define(‘WP_DEBUG’, false); then add the following code on the new line:
define('DISABLE_WP_CRON', true);
Save your changes after you’ve added the new line.
If you are not sure how to navigate to this file via your Cpanel or FTP, you can install the following plugin which will allow you to edit the files on your server directly from within WordPress: https://wordpress.org/plugins/file-manager-advanced/
Once the plugin is installed you should have a new option called File Manager inside your dashboard. Click the menu item to bring up the files:
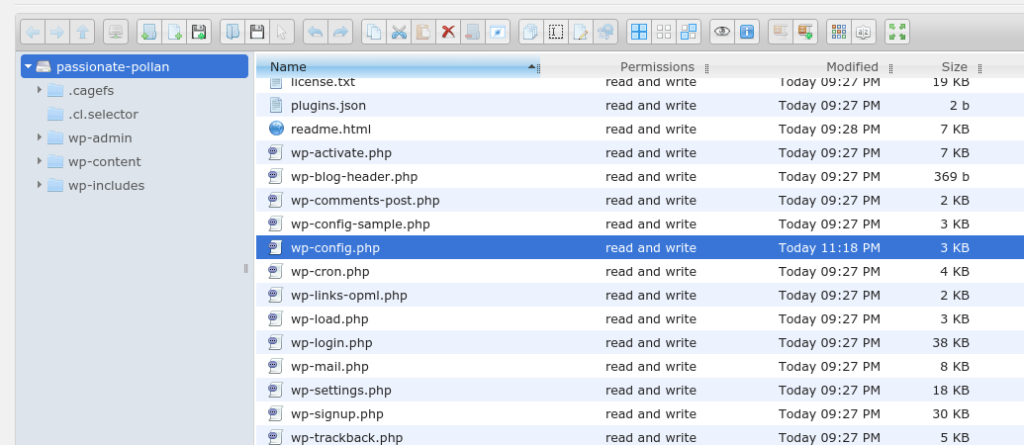
Right-click on wp-config.php and select Editor to start editing the file. Add the following line:
define('DISABLE_WP_CRON', true);
Inside the file after define(‘WP_DEBUG’, false); So it looks like below:

(Be sure to save your changes when you’re done editing the file and then delete the File Manager plugin if no longer needed).
Once you have successfully turned off your default WP Cron, WCDPUE will show a warning notice that your WordPress Cron has been disabled. You can dismiss this notice since we are going to be adding an online cron.
Step 2.
Create an account on https://cron-job.org/en/signup/, then log into your account on the website.
Step 3.
Click the Create Cron Job button to create a new cron job.
Step 4.
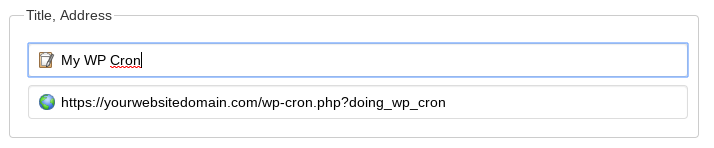
Fill out the details of the Cron job. For Title enter anything you wish, for Address enter your website domain suffixed with
/wp-cron.php?doing_wp_cron
Example: https://yourwebsitedomain.com/wp-cron.php?doing_wp_cron
- Change yourwebsitedomain.com to your actual website domain.
- If your website does not have SSL, then change https to http
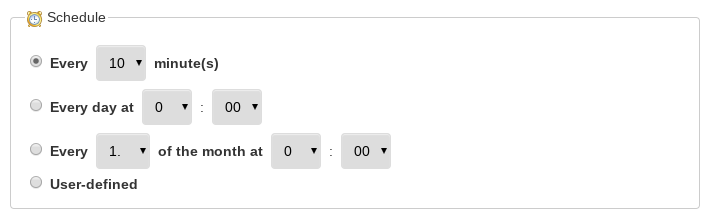
Step 5.
Set the Cron schedule, we recommend every 10 minutes:
Step 6.
Check the option to save responses so that you can see if the cron job is executed successfully, then click the Create Cronjob button.
That’s it! Your cron job should now be created and if you did Step 4 & 5 correctly then you should see success messages in the History section of https://cron-job.org letting you know that the cron job ran successfully.
Method 2.
The other method to fixing the issue is creating a true cron for your website. This requires you having access to your cPanel account to make the following changes.
Host Gator has gone ahead and created a pretty detailed document on how to create a true cron for WordPress so we will use it.
Please go here to view the document: How to create a true cron for WordPress
If you are not comfortable with performing any of these methods then we highly recommend you contact your web host for assistance. They will be able to perform either method for you in no time.